Memorial Day weekend was our time to actually start building the treehouse. We had collected more lumber and pre-cut most of it so the job on site wouldn't be as difficult. This of course meant we needed to transport all of it including some plywood we got for cheap on Craigslist.
I didn't want to use a trailer again if I could help it so I looked to using roof racks. I also didn't want to spend money on commercial roof racks (around $300), so I decided to use some of the studs and rafters that I was going to use on the tree house as the roof racks. Here is what I did:
I first used 5 studs that are going to be used on the shorter wall as the cross members. I lashed each one to the existing roof racks that came with the van.
I then used what will become the roof rafters as the members that are going front to back. I used deck screws to attach all the wood.
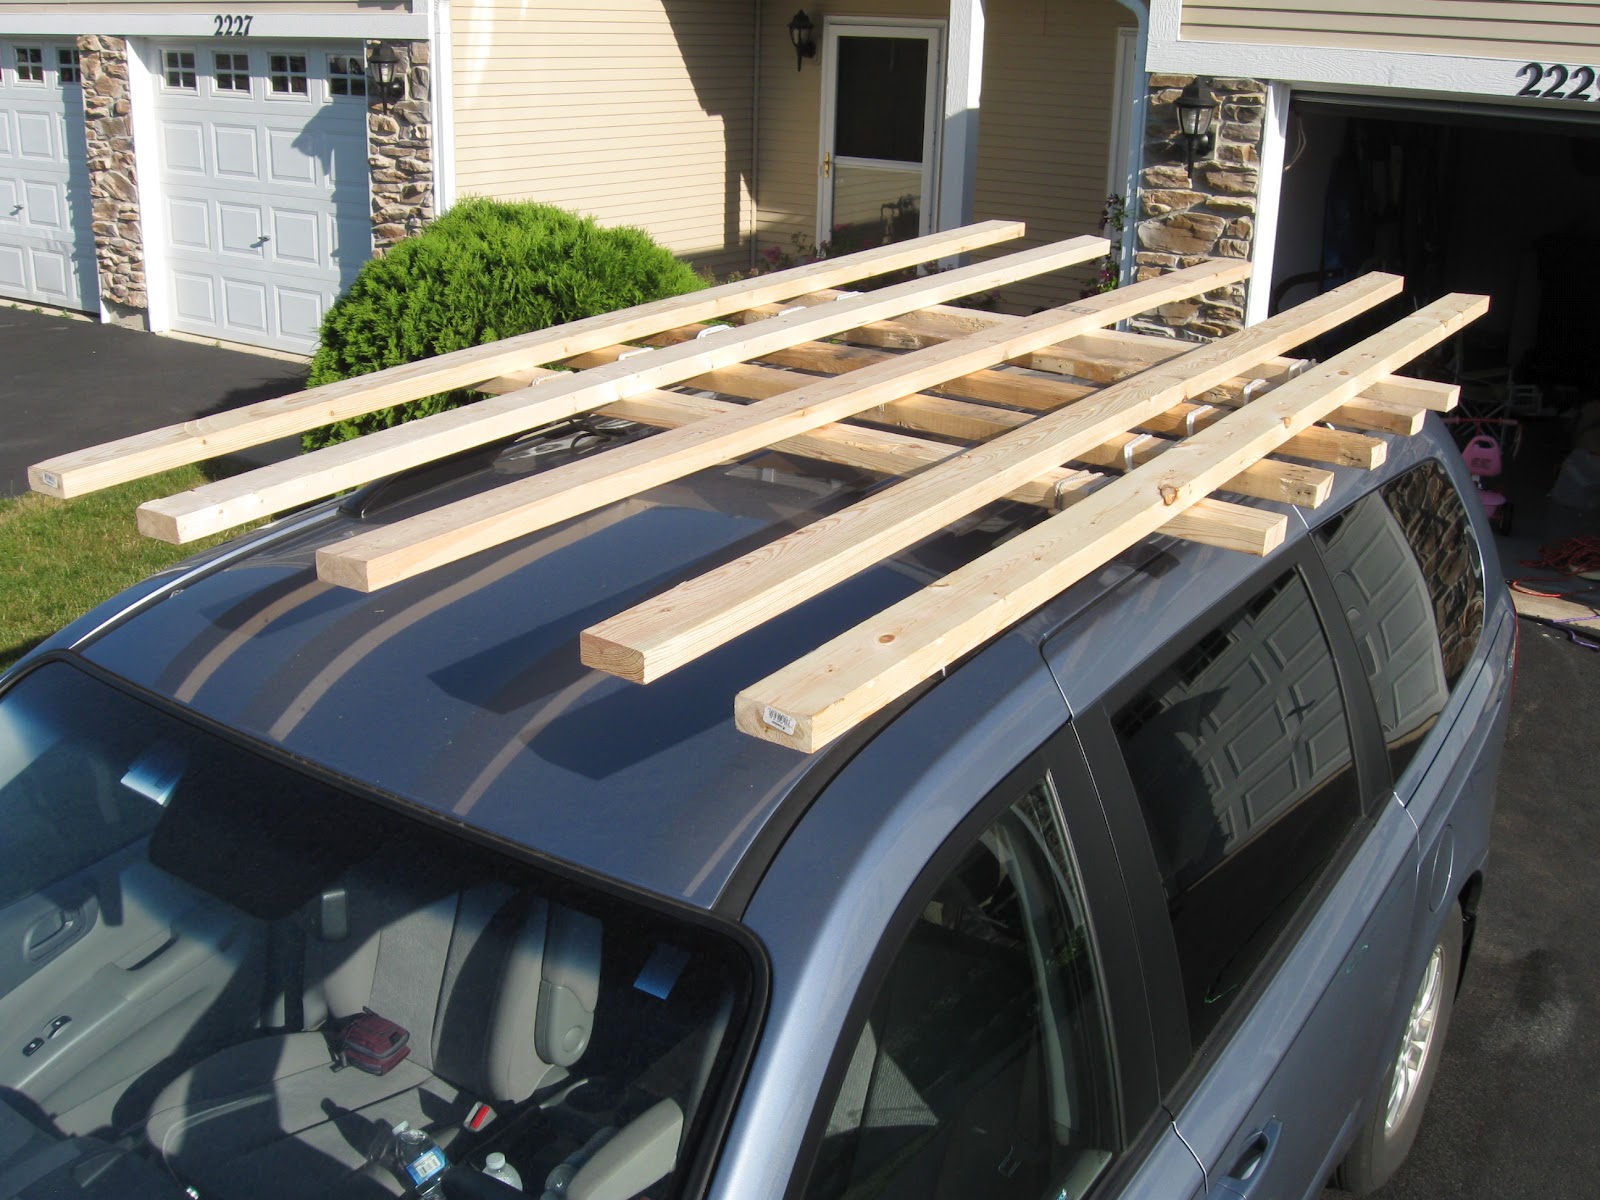
I spaced them about 11.5 inches apart so later in the day when we got the 2x12 beams, they will nestle down in. Next came the plywood and a bunch of trucker's hitches back and forth, back and forth...
I added a few boards front, back and on the sides so the plywood didn't shift It worked like a charm.
Of course the inside of the van was stacked to the gills too. Here is the van with all the lumber, supplies and tools ... and we haven't even packed our clothes and food yet!
After we packed up all the supplies, I took this next picture. Try and find where my 9 year old, Mia, is supposed to sit.
So once the Swagger Wagon was all loaded up it was a little low on the suspension, but not too bad. Here we are ready to leave.
And after a 5 hour trip with minimal mishaps, we arrived at "the hut".
It is similar to our arrival last fall, isn't it? Always bringing new supplies...
Let's build a tree house together. We will research designs, materials and methods. Planning is half the fun! Then we will start building in 2012.
June 3, 2012
May 18, 2012
Let's Build Something: Windows
Budget has been a big part of this tree house being practical. I know that I want windows in this thing for a couple of reasons: I don't want this to feel like a cave and I would like a cross breeze. I have looked into buying windows, but the cheapest new window is about $50 at Menards and used windows on Craigslist are about the same price. This means I should make them from scratch.
I made a couple that I think came out pretty nice. They ended up costing about $25 each, but it is still worth it. I also got that cool feeling of accomplishment. I am going to outline the steps I took to make them after the jump.
May 6, 2012
Let's Build Something: Beam Supports
I knew that eventually I would need to build supports that would go underneath the main beams for the smaller tree since that is the side that the beams will be allowed to slide. The more I thought about it, the more I liked the idea of having 4 of these supports, 1 for each side of each tree, so that I can have more anchor bolts into the trees but also have the anchor bolts spaced apart.
The design of the beam supports are actually quite simple, I just ripped off the Romans and built 4 crucifixion crosses. I guess you could call them telephone poles too, but you get the idea. I first cut an 8 foot 2x6 in half. One 4 foot part will be the vertical part and one 4 foot part will be the horizontal. For the diagonal parts, I marked and cut 45 degree angles for that the longest part of the remaining board is 2 feet long. Here is a picture showing my layout for the diagonal members:
Once the diagonal member are cut, I cut 1.5 inches off tone of the corners to give a nice shoulder. You will see why in a moment.
Now I want to cut a groove on the horizontal member for the diagonal members to mate to. I trace the outline of the top 1.5 inches of the diagonal members onto the horizontal member and then cur relief cuts for easier material removal once I break out the chisel. Here are 2 pictures showing the tracing and then the relief cuts right before I chisel out the material.
With that completed, you start to get a glimpse of the finished product.
Lastly, I add the vertical member underneath and drill all the holes for the 1/2 inch carriage bolts. With that assembled, here is the finished product:
I did not complete the assembly because I want to break this down for easier transport. When it is in its final-final assemble stage, there will be truss plates nailed at the junctions between the horizontal and diagonal members to hold them in place.
Of course all this could not be possible without my family of helpers. Today, Anna really was a really big helper.
April 18, 2012
Designing - Beam, Joist, Floor and Stud Plans
I have been planning, drawing, erasing, redrawing and planning some more all Winter. I am trying to figure out the optimal design of the tree house with the lumber that I already have so I do not have to buy too much. I think I have a pretty good idea of how this is going to look.
The first plan is the Beam Plan, which is technically the foundation of the whole structure since everything sits on top of it. I am going to use two 2x12 boards parallel to each other. I am going to add cross members as room permits to act as stiffeners so this becomes more of a box beam (per the suggestion of the eternal engineer - my Dad).
Here is the plan as I currently have it drawn.
March 14, 2012
Back in the Saddle Again
I know it has been a few months since posting anything, but the Winter was a time to take a break and reflect. Now we are back and planning again and with that is more Craigslist searching. We found another good buy, 20 2x4s (untreated) and 4 4x8 sheets of plywood.
The 2x4s will work great for the wall framing. The plywood will work great for the flooring inside the treehouse. I was thinking of doing decking throughout out the platform, but I cannot pass up an opportunity like this.
It was $15 for all of this. It's like a broke dick: you can't beat it.
The 2x4s will work great for the wall framing. The plywood will work great for the flooring inside the treehouse. I was thinking of doing decking throughout out the platform, but I cannot pass up an opportunity like this.
It was $15 for all of this. It's like a broke dick: you can't beat it.
October 19, 2011
Planning: The Lay of the Land.
While we were up in Wisconsin, Mia and I took really good measurements of the tree(s) that we want to build on and the distances between them. We even took compass readings so we can later decide the best direction of the slope of the roof and so on.
I drew up a very basic layout of the trees. Here is the scale drawing if you would like to play along.
I am going to use this to draw out the Beam plan and the Joist plan of the tree house. Those should be soon to come. Just a brief explanation of what in in the drawing, the small tree is self explanatory. The large tree has a branch that starts about 4 feet off the ground, so that is what you see as a dotted line. All the sizes and distances were measures at 7 feet off the ground since that is where I expect to build the tree house.
October 12, 2011
The Tree
The Tree. The center point of a treehouse and probably the single most important part of the entire project. This must be taken seriously.
Ok, so I may be over dramatizing this a bit, but it is important to get a good tree. Since we have a lot of trees to choose from on the property, we can be somewhat selective. For the first thing, we do not want a fast living tree. This includes Poplar or Birch, both of which shoot up to a nice size, but don't live for very long. They also have very spongy wood so it would not hold a fastener very well. We want this treehouse to last a little but and it would be bad news to come back to The Hut someday and find the treehouse smashed to the ground.
The criteria I was looking for was as follows: a big tree at least 5 feet in circumference, healthy with no mushrooms or excessive dead branches, straight with at least 15 height that is free of branches, a neighboring tree that is about 10 feet away, and not Birch.
Well, there are a lot of Birch trees on the property. They look nice and tall and big and straight ... but you just know they are going to be a recipe for disaster sometime in the future. Mia and I walked the property looking for a nice big tree that is pretty much ANYTHING other than Birch. There was a lot of "look at that tree ... aww nuts, it's Birch".
We concentrated on the bigger trees that were not Birch. Some looked a little sick. Some were REALLY far away from The Hut. Some didn't have a neighboring tree that was big enough. After all the searching, we kept coming back to the same tree. This one:
And this is her sidekick:
Here they are together:
What I like about this arrangement is that the trees are about 11 feet apart, they are straight and healthy looking. Here we are measuring the bigger tree's circumference:
Over 7 feet! Ok, this is a good tree. But, what kind of tree is this? There were no leaves close to the ground to pick, so I had to take a picture zoomed into the leaves that were way up:
So what do we have? Heart shaped simple leaves, alternating pattern, smooth surface... after doing the research, we have a wonderful specimen of an American Basswood. This will work nicely. It doesn't have the regal stature of an Oak, or the sexiness of a Maple, but it should have good heartwood to tap into and will live 120+ years.
I am not quite sure of the sidekick tree because I didn't take as many pictures of it, but I think it also is an American Basswood, which is fine with me.
Now that I have the tree(s) determined, and I laid it out on paper, I can design the treehouse that will span between the two trees. This is the REALLY fun part.
Ok, so I may be over dramatizing this a bit, but it is important to get a good tree. Since we have a lot of trees to choose from on the property, we can be somewhat selective. For the first thing, we do not want a fast living tree. This includes Poplar or Birch, both of which shoot up to a nice size, but don't live for very long. They also have very spongy wood so it would not hold a fastener very well. We want this treehouse to last a little but and it would be bad news to come back to The Hut someday and find the treehouse smashed to the ground.
The criteria I was looking for was as follows: a big tree at least 5 feet in circumference, healthy with no mushrooms or excessive dead branches, straight with at least 15 height that is free of branches, a neighboring tree that is about 10 feet away, and not Birch.
Well, there are a lot of Birch trees on the property. They look nice and tall and big and straight ... but you just know they are going to be a recipe for disaster sometime in the future. Mia and I walked the property looking for a nice big tree that is pretty much ANYTHING other than Birch. There was a lot of "look at that tree ... aww nuts, it's Birch".
We concentrated on the bigger trees that were not Birch. Some looked a little sick. Some were REALLY far away from The Hut. Some didn't have a neighboring tree that was big enough. After all the searching, we kept coming back to the same tree. This one:
And this is her sidekick:
Here they are together:
What I like about this arrangement is that the trees are about 11 feet apart, they are straight and healthy looking. Here we are measuring the bigger tree's circumference:
Over 7 feet! Ok, this is a good tree. But, what kind of tree is this? There were no leaves close to the ground to pick, so I had to take a picture zoomed into the leaves that were way up:
So what do we have? Heart shaped simple leaves, alternating pattern, smooth surface... after doing the research, we have a wonderful specimen of an American Basswood. This will work nicely. It doesn't have the regal stature of an Oak, or the sexiness of a Maple, but it should have good heartwood to tap into and will live 120+ years.
I am not quite sure of the sidekick tree because I didn't take as many pictures of it, but I think it also is an American Basswood, which is fine with me.
Now that I have the tree(s) determined, and I laid it out on paper, I can design the treehouse that will span between the two trees. This is the REALLY fun part.
October 10, 2011
Out With the Old...
As the cycle of life goes, that which is new will eventually become old. Doug built a tree house about 20 years ago and nature did what nature does, slowly rotting away the structure so there is now just a skeleton of what was left.
Gina tells me that the treehouse was incredible fun for her and her siblings, when they were younger. That is why it is fun to design and build a new one for the next generation, but visiting the old treehouse is still neat. If you sit there long enough and watch, you can still imagine the by-gone days when the Pleticha kids played there.
October 9, 2011
X Marks the Spot
For those of you familiar with the property of The Hut, here is a little game. Mia and I explored a lot of the property and we settled on a spot to build. There is a really nice looking tree that we can use with a nearby secondary tree that will help.
OK, so here is the game. If you want about the most vague hint you can get and want to find the spot, here is your photo clue. X marks the spot:
Give up? OK, if you want another clue, try this photo:
Still not quite sure? Ok, here is your last picture that should clinch it. Again, X marks the spot. I purposely didn't make the X very obvious.
Happy hunting!
Go West Young Man
We loaded up the $50 of treated lumber and headed on out West (and North) to drop it off at The Hut. A special thanks to Jay Kirby for letting us borrow the trailer. Here is a picture of the triumphant arrival of the Lumber to the hut.
By the way, we put off unloading the trailer for a whole day because we had other stuff to do. A second special thanks to my whole family. It was neat to see Gina and Mia working as a team to bring the long lumber over to me to tuck under The Hut. Frank and Anna even got into it by carrying the (very) small pieces.
I have great helpers.
October 3, 2011
Let's Build Something - Ladder
Since I have all that used lumber, and it is going to be transported to the tree house site fairly soon, I thought it should be a good idea to get whatever I can build done now while I have access to power tools ... and the power to run them.
I decided it would be a good idea to get the ladder built now since there is a lot of cutting, drilling and screwing involved. The added bonus is the ladder can be easily transported, unlike a wall for example.
I know that I want the floor surface to be 7 feet off the ground, and after doing some research, I decided to have a 70 degree angle ladder. Subtracting the width of a 2x8 floor joist, I figured that the ladder can be 7 feet long. I also researched that 10 inch rung spacing is good for kids, so I went with that. Lastly, I made the rungs 18 inches wide so the finished product will be 21 inches wide (18 + 2x1.5). 21 inches long can tuck up into 24 inch centered joists if I decide to have the ladder hinge up into floor with a pulley. Just trying to think ahead :)
For the materials, I used 2x6s for the vertical stringers and 2x4s for the rungs. I cut short 2 inch pieces from 2x4s to make cleats to go under the rungs for added support. Lastly, I used 2 1/2 inch long galvanized deck screws to assemble everything.
Here are a few pictures to show the build in progress and the final product.
Here is a close up to show the rungs and the cleats that support the bottom of each end. This gives each rung 10 screws to support it, so this should be sturdy.
And of course I called in my product tester.
It got a resounding thumbs up. It took a while to get her down from there. Imagine what will happen when there is a tree house at the top.
September 25, 2011
One Man's Trash is Another Man's Treasure.
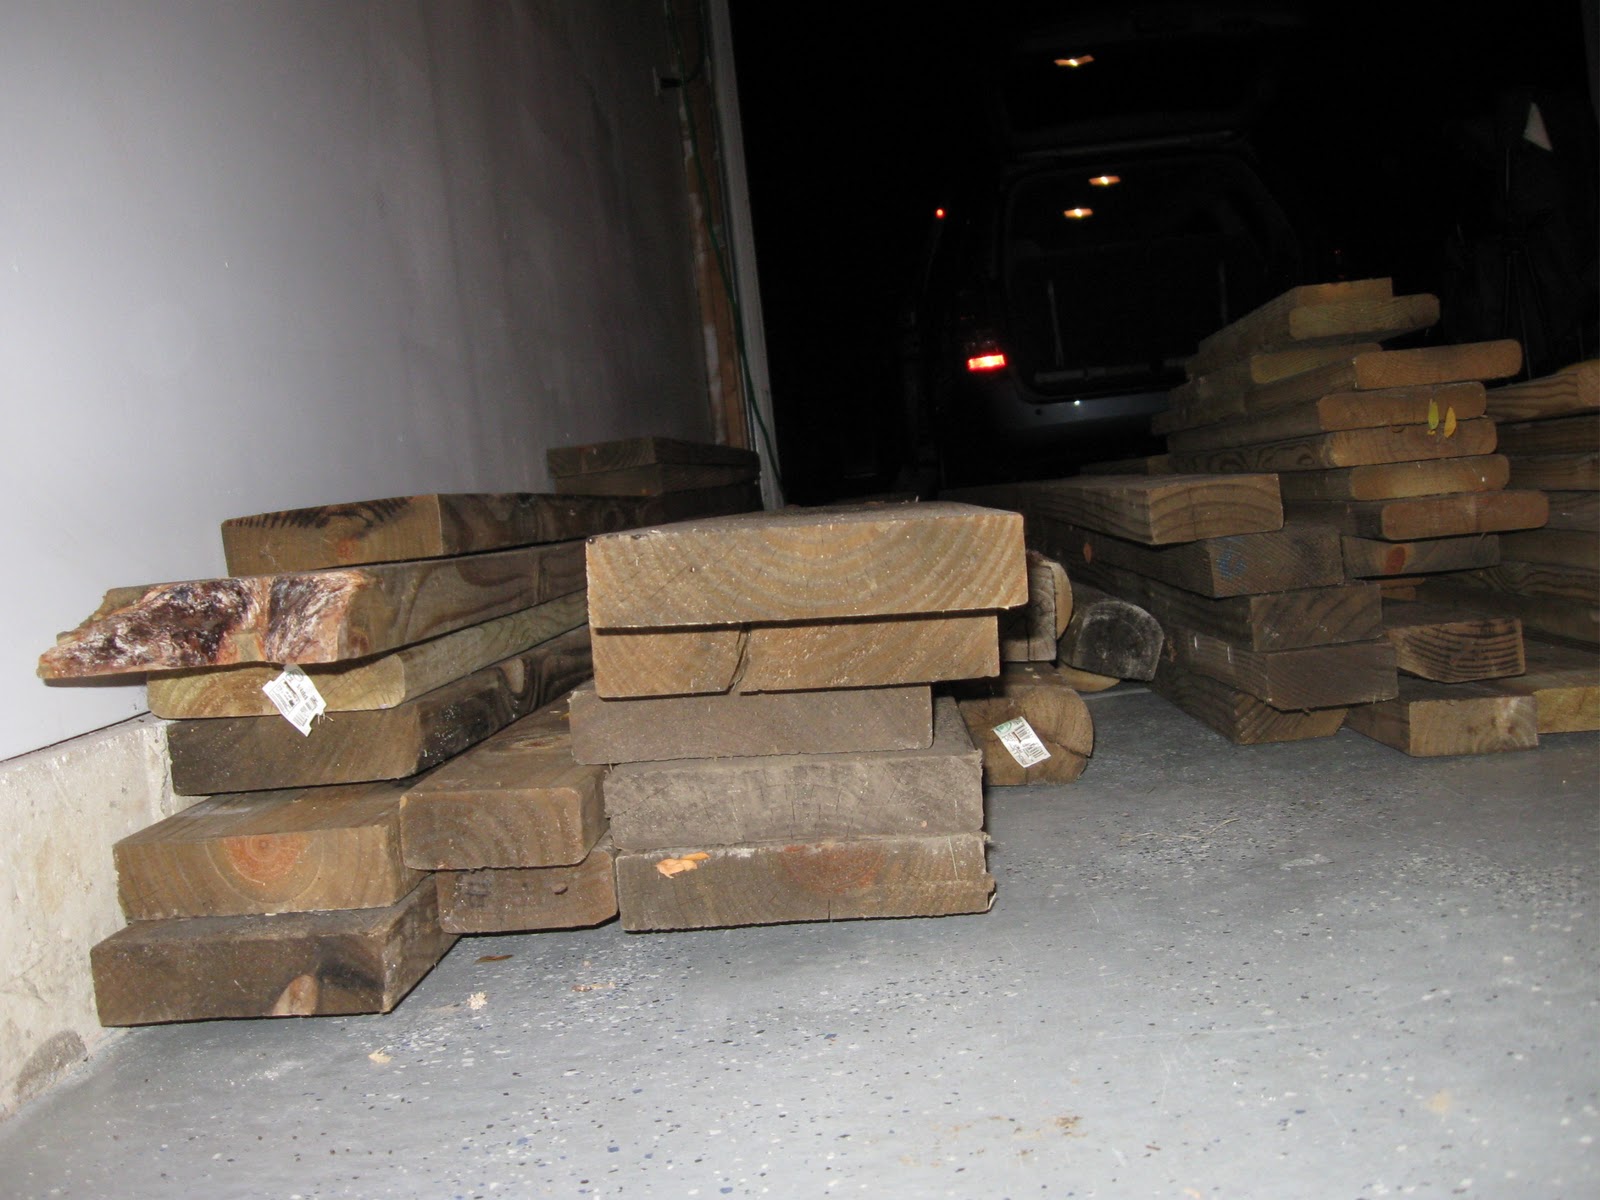
Score! In the vain of trying to make this Tree house practical, and therefore affordable, I have been trolling Craigslist and found the motherload of used treated lumber from a guy in Warrenville that is selling the remnants of a play yard that he deconstrusted. The lumber is only 6 months old, so this is a good buy.
Oh, and I only paid $50. Check out everything that I got.
I am so excited! I will still have to buy additional (new) lumber for stuff I don't have yet, but this sure helps the budget to get things used.
Oh, and I only paid $50. Check out everything that I got.
I am so excited! I will still have to buy additional (new) lumber for stuff I don't have yet, but this sure helps the budget to get things used.
September 22, 2011
Research Pt 2: Huh, Huh, I got wood.
I guess the most basic place to start researching is the lumber. It goes without saying that the majority of the lumber that we need to use should be rot resistant. Of all the choices like Cedar, Hardwoods and composites, pressure treated lumber is by far the cheapest and there gets my attention. At first I was hesitant to use treated lumber because I remembered all the stories about how treated lumber was actually treated with arsenic to keep away the injects and I sure as heck did not want to have the tree house that my kids play in be pre-poisoned. Come to find out they have not been using arsenic since 2002, so we are good to go.
For the most part, there are not many drawbacks to pressure treated lumber, but there are a few points that need to be addressed:
1) Pressure treated wood is still not a great think to breath, so wear a mask when cutting and DO NOT burn it.
2) Treated lumber is treated with Chromated Copper Arsenate (CCA), and that
means we can have corrosion issues. More specifically, any metal in contact with the wood can become corroded quickly due to galvanic corrosion because of the Copper. It will not do any good to have wood that didn't rot when all the nails, screws and bolts holding it all together falls apart. So with that in mind, everything needs to be galvanized. Everything. No exceptions. We will go in more detail when we discuss the hardware.
So we are going to use treated lumber. As for sizing, this is what I figure we will use, although this is open to change once we get further into this:
2x10s will be used for the beams that are attached to the tree. The beams are holding the whole thing up, so they need to be stout.
2x8s or 2x6s will be used for the box frame. The box frame is the floor joists and header boards. I guess the size we use will be determined how much the joists are going to be cantilevered over the beams ... so we will have to figure out what is the safest later. I may use 2x6's for the roof joists too ... but I need to figure out if they need to be treated or not.
2x4s for sure will be used for any walls that are built. Again, they may not need to be treated, but for sure the bottom sill boards on the walls will be treated.
4x4s will be used in the corners of the structurs to pin everything together and will be used to make the posts for railings.
1x6s will be the decking for the platform. This for sure needs to be treated.
As I stated before, I want to keep this cheap. I am looking for used lumber that people don't want, so Craigslist will be the best bet. I actually already found a guy that wants to sell some, so cross your fingers that I can get some good stuff ...cheap.
September 20, 2011
Research Pt 1: The General Stuff
As almost everyone does, I started researching on the internet. But, as almost everyone figures out eventually, the internet only gets you so far. After looking around, it seems people were referring to David Stiles as the go-to guy for tree house knowledge. I looked into Amazon and found his book "Tree Housees You Can Actually Build".
Of course, when buying from Amazon, you want to get that free shipping, which means a $25 minimum order, so I figured, what the hey, and bought another book, "Black and Decker's The Complete Guide Build Your Kids a Treehouse".
Of the two, I actually found the Black and Decker book to be the most useful in a practical sense and seemed to be very conservative from a structural standpoint. However, David Stile's book seemed more traditional with all the trimmings of tree houses that you think of from childhood fantasies from long ago. So take you pick, or choose something else, but these books were a good place to start for me.
What I learned from the many hours of perusing these book while sitting on the pot was there are fairly basic and universal tree house plans for the platform. What you put on top of the platform can vary based on your fancy, but the platform is universal. And it must be level, that is key. The platform can straddle one tree, or span between two trees or be pinned between 3+ trees, but they all seem to be baaed on the premise of beams that are bolted to the tree(s), a box platform with floor joists sits on top of the beams, and then decking is placed on the floor joists so you essentially end up with a patio up in a tree. Then whatever structure you build, if any, is placed on top of the platform.
Sounds simple, right? After that, all the trimmings of stairs, rope ladders, windows, doors, escape hatches, fire poles, and so on start to creep in and make it all exciting to dream about. All this will come into more detail later, but we can still research what is the most economical way to build this thing since there are very universal things that will eventually be used: Lumber, Hardware, Siding and Roof. This will be the focus on the next few posts.
The Background
I am married into a a crazy bunch and I say that lovingly. My in-laws own many acres of land just south of La Crosse, WI and they have an A-frame house on the property that they affectionately call "The Hut". It had been their refuge from the Chicagoland hustle and bustle for 20+ years and their original plan for it was a vacation get away they could call their own and bring their children. Let me introduce the in-laws: Karen and Doug. Look out for the one on the right, he is a wily one.
Well, the children have grown up, but Karen and Doug still travel up there in the warmer months. Now that they have grand kids, they are looking at The Hut as round two for the family vacation spot and have always allowed any of the family to go enjoy the seclusion.
They casually mentioned they would like a tree house built on the property. There is a tree house already there, but it is old and decaying and probably not safe and they would like a newer one for the grand kiddies. At first I didn't take it seriously, but the more I thought about it, the more I though it would be fun, so I started doing some research. Then the dreaming began. This could be COOL! I did further research and was hooked. Yup, this is something I want to do.
I talked to Doug and the budget is around $500, so I want to make this economical. However, I also want it to be fun for the kids, but useful. I am also thinking of it as a guesthouse to the hut. That means it needs to be water proof, bug proof (VERY important) and have a bed or two. It doesn't have to look pretty, but does need to be safe. Everything else is open to interpretation.
So. With that is mind ... where do we go from here?
Subscribe to:
Posts (Atom)


